

This has been a more or less perfect day when it comes to tinkering. First I spent a good deal of time measuring the holes for the thermometer and power socket. I wanted the two holes to be aligned to the overhead holes so they look all nice and dandy. Thanks to one giant stationary drill (Not the Bosch this time) I got it all fixed perfectly. The holes ended up spotless and dead centered.

I also had an idea when it came to the volume button. As the amplifier card resides INSIDE the machine, and the volume pin goes through the back cabinet panel I though about sinking a button about 4mm into the back panel. To simplify it, I´m going to make it look as the button is not outside of the back panel, but rather that it resides 4mm into the panel...Sigh.. Look at the pictures then ;) Anyways, the result was perfect. I could have messed this one up badly as I only needed the button itself to be 1-2mm out of center for it to "throw". The button also needs to be able to also survive the wear and tare of being attached and detached whenever I need to access the interior.


And also, the buttons, thermometer and power socket fit like a glove! To the right you se the "sinked" hole with the center hole for the volume pin. The hole is 30mm and the button will have a diameter of 28mm. That gives ruffly 1mm of play...Hmm.. Might to a smaller button. I might miss and end up with more than 1mm of throw... That would render the button useless. Oh! The humanity!


Before priming and painting the back panel, I would like to mention how much work this was. I have no previous experience with routing or precision drilling so this was a huge leap for me (mankind can come too!) The areas that are sinked are routed so that the air vents at the top can fit the pink perforated steel-sheet. The lower window will house the acrylic logo-window. The latter is just for show. It does not have any function except estetically.
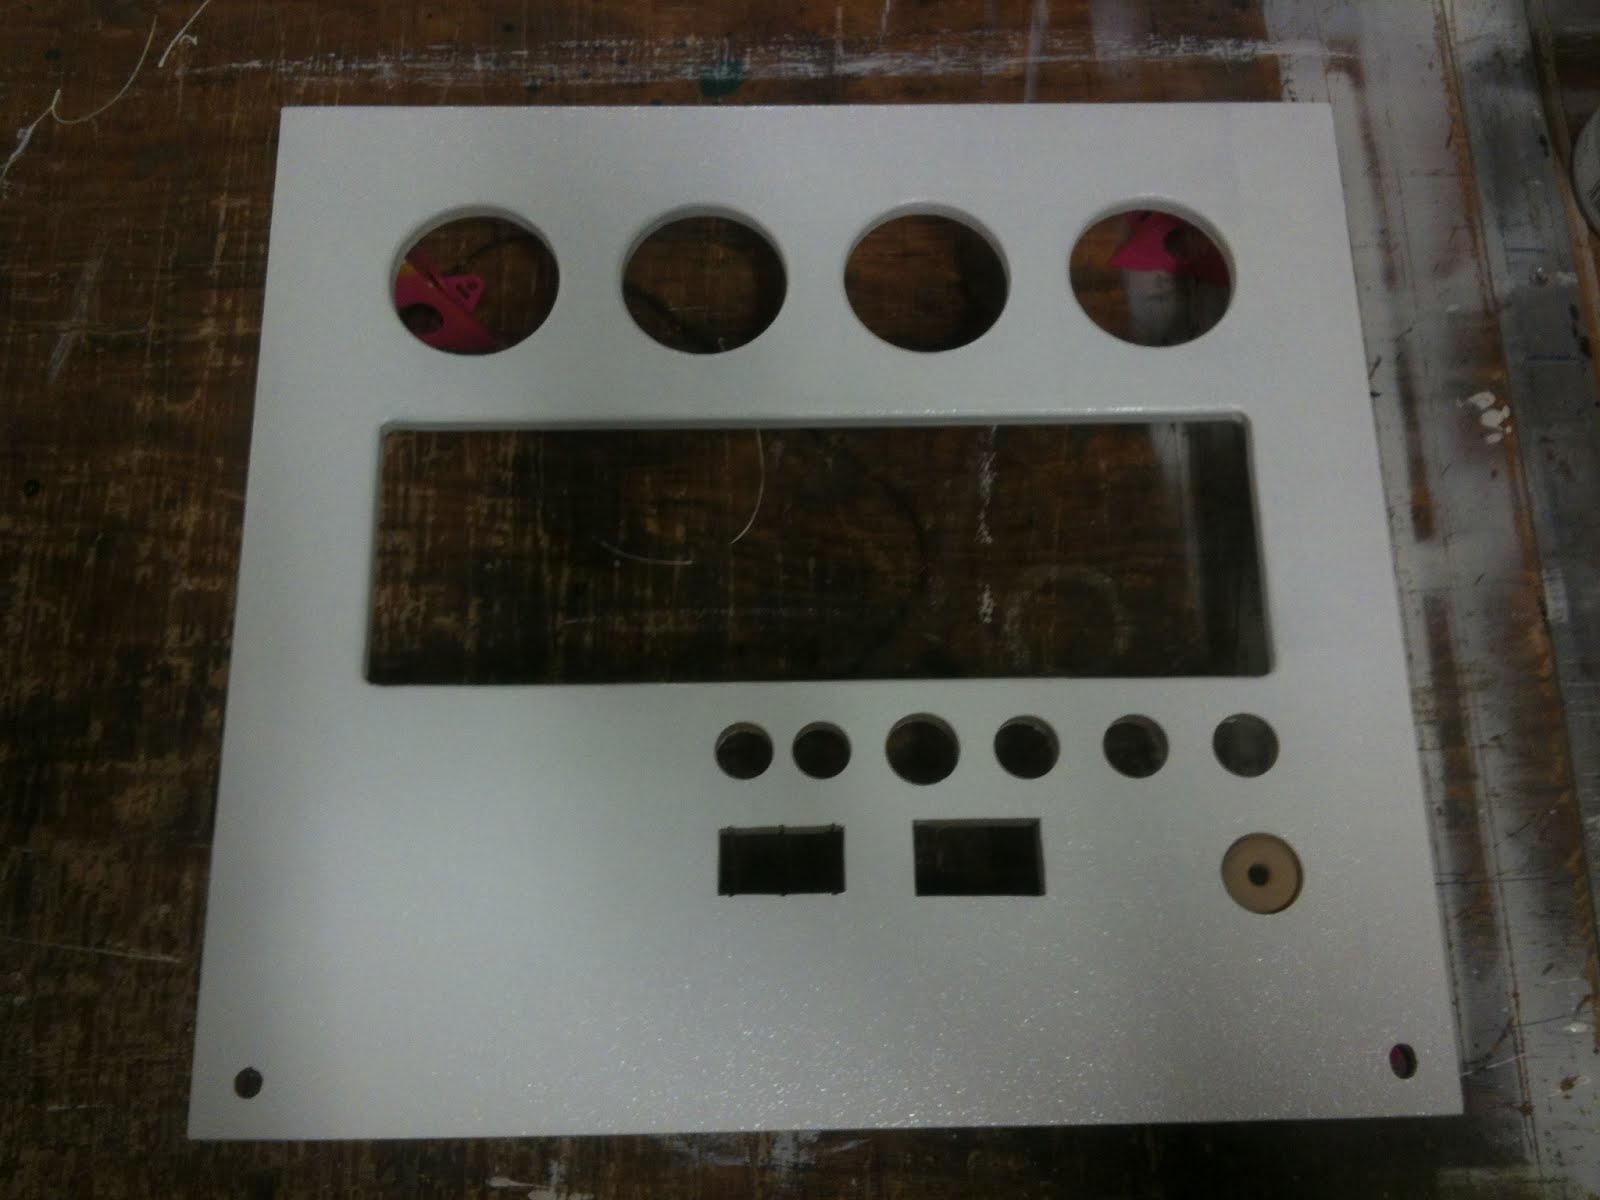
Here I´m done with the cutting and drilling of the back panel. I´ve primed it twice (only a light sanding between each coating). It´s now drying and is ready for two coats of glossy paint. As you probably notice I´ve left out painting the holes. They were so spot on that I could jeopardize how well they fit. The paint is also sticky and have a slight glue-effect. We don´t want stuck buttons now do we?!?!


And one last thing... The marquee lit up today ;) I have to say it looked really good. The two white cold cathode tubes inside gave quite a cold light, but this can be fixed with some foil used on studio lamps that lowers the Kelvin from 5500 to 3500 (Winter to summer-light). PS. The lighting will be a bit more even when the white back panel is included.
Again, this is so fun it hertz!
Hope ya´ll like it! Remember to leave comments. I believe I´ve finally managed to set Blogger up so that you can comment without having to be member of some stupid plan or software...
Regards
Bjorn
Ingen kommentarer:
Legg inn en kommentar